






Send files and screenshots in chat
Send screenshots, log files and other files to our team in the live chat: attach, drag and drop or paste, follow the upload, open images and download files.
- Beginner
- 4 min read
- Updated
Tested on: HyperDC website, HyperDC client area
This guide is not available in your language yet, so it is shown in English.
On this page
A screenshot or a log file often explains a problem faster than a description. In the live chat you can send files to our team in the same conversation. This guide shows how.
Before you start
- Start a chat first (see chat with us live): files are sent inside a running conversation.
- Check what the file shows. Hide passwords, keys and card details in screenshots, and remove them from logs, before you send.
- HAR files (network recordings from your browser's developer tools) can contain your sign-in cookies. Send them only when our team asks, and sign out and in again afterwards.
Step 1: Attach a file
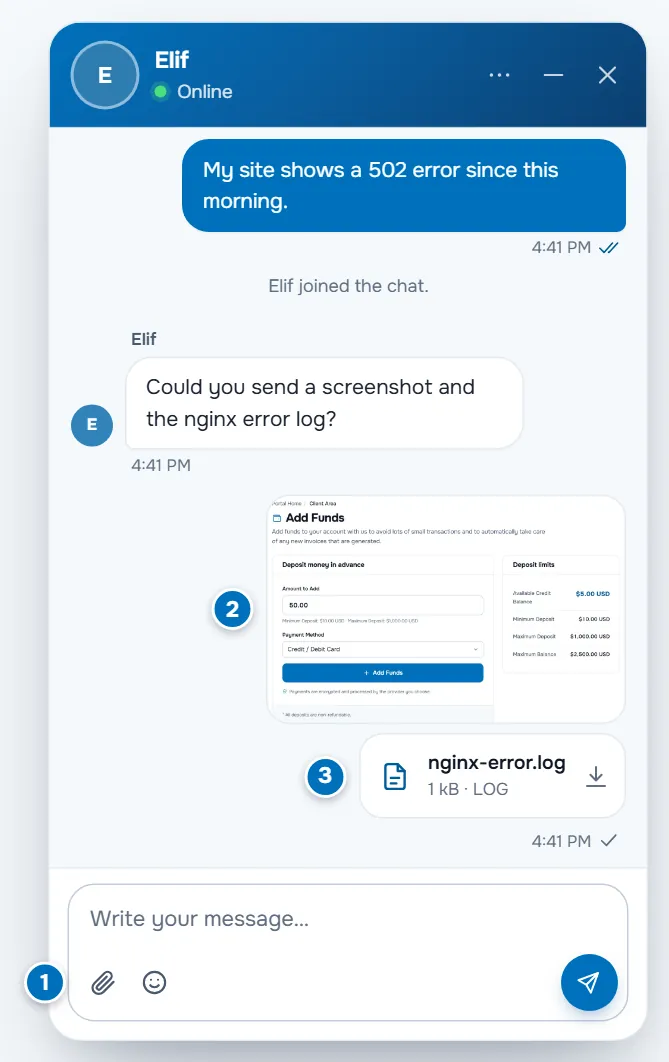
Use whichever way is easiest:
- Attach a file: select the paperclip under the message field and choose one or more files.
- Drag and drop: drag files from your computer onto the chat window and drop them when Drop files to send them appears.
- Paste: copy a screenshot (for example with Print Screen or the snipping tool) and paste it into the message field with Ctrl + V.
Each file shows a progress bar while it uploads. Cancel upload (✕) stops it; if an upload fails, select Retry.
Verify: the file appears on the right side of the conversation, like your messages. Images are shown as a preview, other files as a card with their name, size and type.
Step 2: Open images and download files
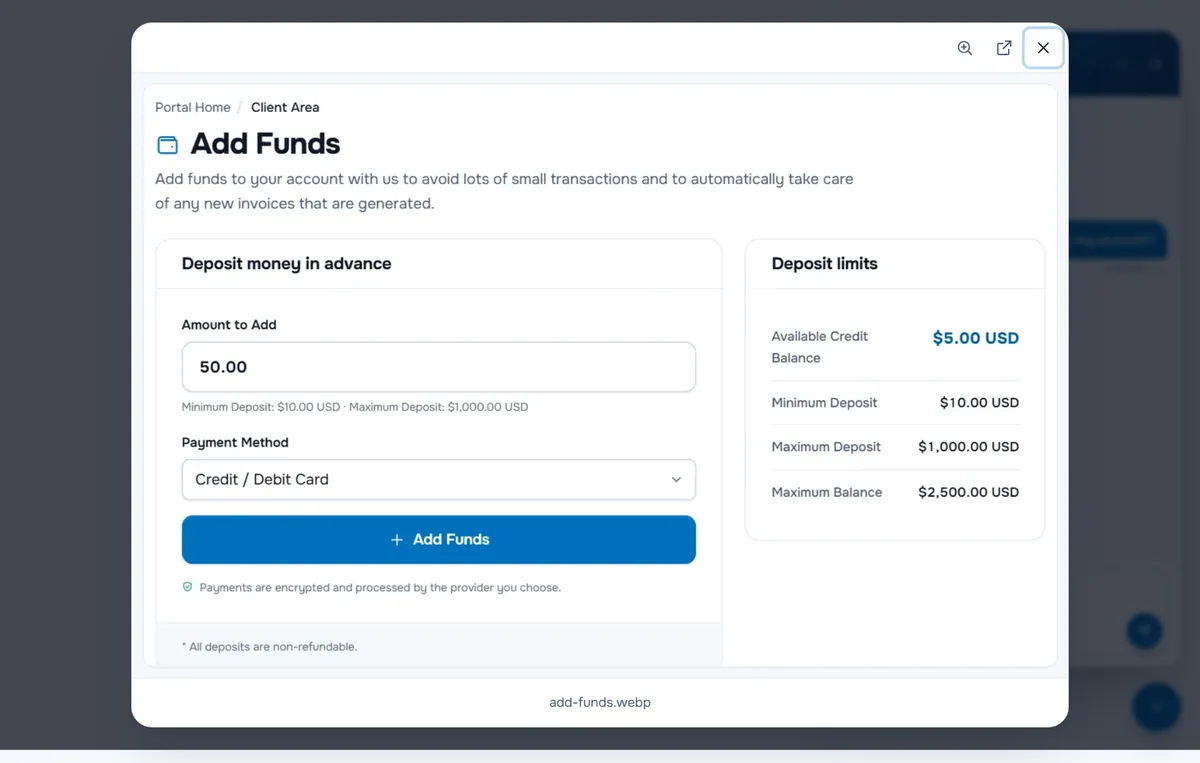
- Images: select an image to open it in the viewer. Zoom in, move between images of the chat with the arrow keys and close the viewer with Esc.
- Other files: select the card to download the file.
Files our team sends you appear on the left side of the conversation in the same way.
Troubleshooting
"… this file type is not allowed." The chat does not accept that kind of file. Save the screenshot as PNG or JPEG, paste a log as text, or put several files into a ZIP archive.
"… is too large (maximum … MB)." The message names the limit. Compress the file into a ZIP archive, crop the screenshot, or send only the relevant part of a log.
"File uploads are not available in this chat." Files are not allowed in your chat (see the box above).
"Upload failed". Your connection dropped during the upload. Select Retry.
Next steps
- Continue the same chat on another device: continue a chat on another device.
- For long investigations with many files: support tickets.
Frequently asked questions
Why is there no paperclip in my chat?
Files are not allowed in that chat yet. Signed-in clients can usually send files right away; for guests, our team allows files when they need one. Ask in the chat.
Which files can I send?
Common formats such as images, PDF, text and log files, CSV, ZIP, JSON and HAR, unless our team changed the list. The chat tells you at once when a type is not accepted or a file is too large.
Who can open my files?
You, in your own chat window, and our team. Download links work only in the browser that holds the conversation and only for a limited time.
Can I delete a file I sent?
Not from the chat. Ask our team in the chat if you sent something by mistake.